REMEMBER:

•  Add your name to your projects
•  Save Photoshop projects as PSD and JPG
•  Save Bryce projects as BR7 and [Save Image As] JPG
•  Save Sculptris projects as SC1 and JPG and export it as an OBJ.
•  Save Rhino projects as 3DM and JPG
•  Save Flash projects as FLA and go to FILE>PUBLISH SETTINGS and publish as SWF and JPG
•  Upload finished projects to your portfolio and/or your DeviantArt page
•  Keep checking your grade on PowerSchool
DOWNLOADS:
Download Bryce 5 Trial Version
Download Sweet Home 3D
Download Rhino 3D 5.0 Trial Version
Download Sculptris
Download Windows Movie Maker 2.6
Download Java JDK
Download Greenfoot
Showing posts with label Wood. Show all posts

Monday, April 14, 2014

Rhino: Work on Chess Pieces

On Monday we began making a checkers set and on Wednesday we began making chess pieces.  Today we will continue working on our chess pieces and getting them on a chess board.  I would like you to feature your checkerboard / chess board on a table of some sort with a floor and walls.  Remember that a large block makes the floor, another large block makes a wall, and another makes another wall, although you can feel free to add them to one of the tables in a room that you already created.

Some specifics:
  • Chess Pieces -- A full chess set includes:
    • Pawn (8 of each color)
    • Rook (2 of each color)
    • Knight (2 of each color)
    • Bishop (2 of each color)
    • Queen (1 of each color)
    • King (1 of each color)

    Thursday, April 10, 2014

    Rhino: Create a Checker Board and Checkers

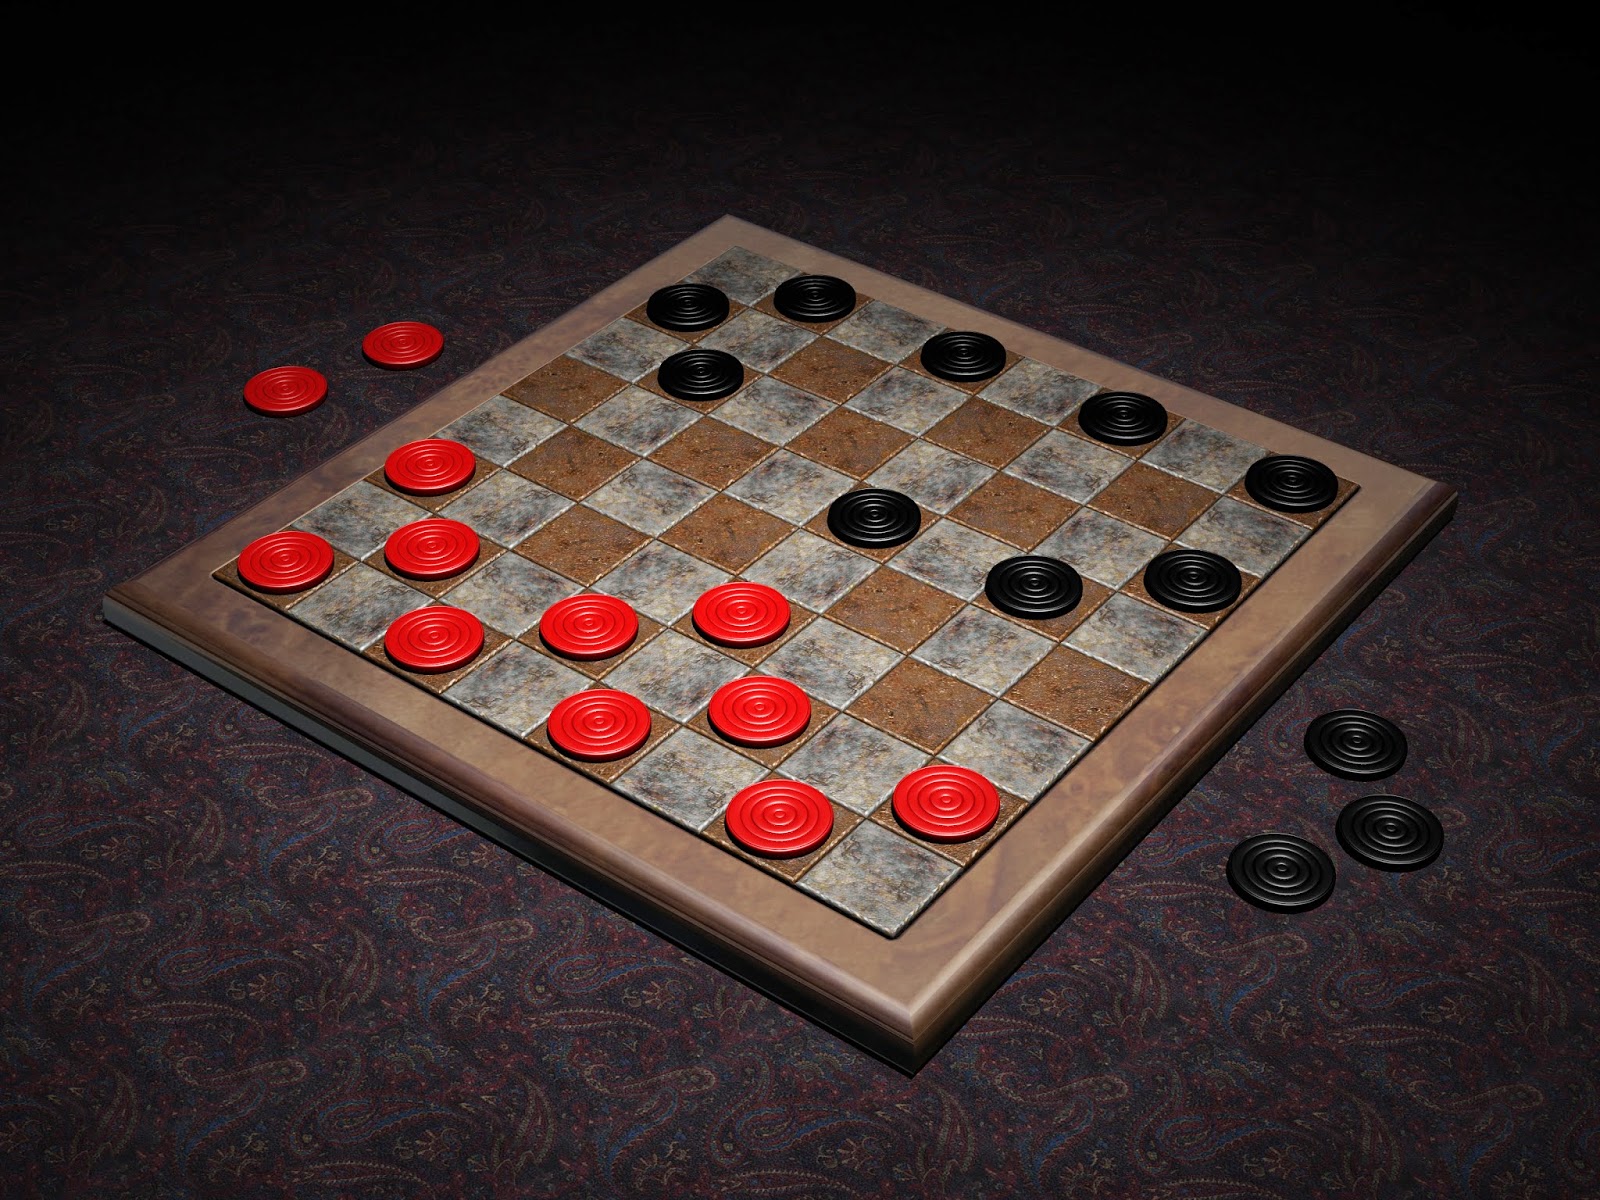
    Today we will be creating a checker/chess board using a series of squares of alternating light/dark wood.  We will also be creating a border with a filleted edge.
    In the first step, I turned on "snap" and created two rows of 8 blocks.  Then I changed the textures and alternated between light and dark.
    In part 2, I copied the two rows and pasted them 4 times to create a basic checkerboard.
    In part 3 I added a block that extended beyond the edges of the squares and lowered it just slightly so the squares stuck out of the surface.
    In the final step, I filleted (rounded) the edges of the block (see above).

    You can add texture, gloss, color, etc. and even lighting, background, etc.
    Next I would like you to add checkers.  You can either create a checker with the Cylinder tool, or with the Revolve command (as seen in the examples below).  Notice that there are 12 of each color and that they sit on the dark squares.
    Below are various styles of checkerboards including some that have been made into tables.  Note the different colors, textures, materials, etc.  Checkerboards can be made in stone, metal, wood, fabric, etc.

    Tuesday, March 25, 2014

    Rhino: Table Legs & Top


    Today we are doing a project very similar to the goblet or vase.  We are going to use the "Revolve" tool to turn some table legs.  Try a few different designs and some different textures.  Remember to add gloss (50 is really shiny) if you want them to appear varnished.

    Notice that some are shorter and some are taller, but they have very similar designs.

    If you look at the table design below, you can see turned wooden legs and it really helps to accent the table.

     
    Process:
    1. Begin with "Small Objects - Inches"
    2. Select the front or side viewport and expand it
    3. Draw a profile of a table leg.  Standard table legs are approximately 29" tall
    4. Create your table leg using the Revolve method from the "Goblet" project.
    1. Use the Curve tool to draw the profile of a table leg.
    2. Select the curve (that you just drew)
    3. Type "Revolve" and press Enter
    4. Set the Axis in what will be the center of your table leg.
    5. Type "0" and press Enter.
    6. Type "360" and press Enter.