REMEMBER:

•  Add your name to your projects
•  Save Photoshop projects as PSD and JPG
•  Save Bryce projects as BR7 and [Save Image As] JPG
•  Save Sculptris projects as SC1 and JPG and export it as an OBJ.
•  Save Rhino projects as 3DM and JPG
•  Save Flash projects as FLA and go to FILE>PUBLISH SETTINGS and publish as SWF and JPG
•  Upload finished projects to your portfolio and/or your DeviantArt page
•  Keep checking your grade on PowerSchool
DOWNLOADS:
Download Bryce 5 Trial Version
Download Sweet Home 3D
Download Rhino 3D 5.0 Trial Version
Download Sculptris
Download Windows Movie Maker 2.6
Download Java JDK
Download Greenfoot
Showing posts with label Gloss. Show all posts

Thursday, April 10, 2014

Rhino: Create a Checker Board and Checkers

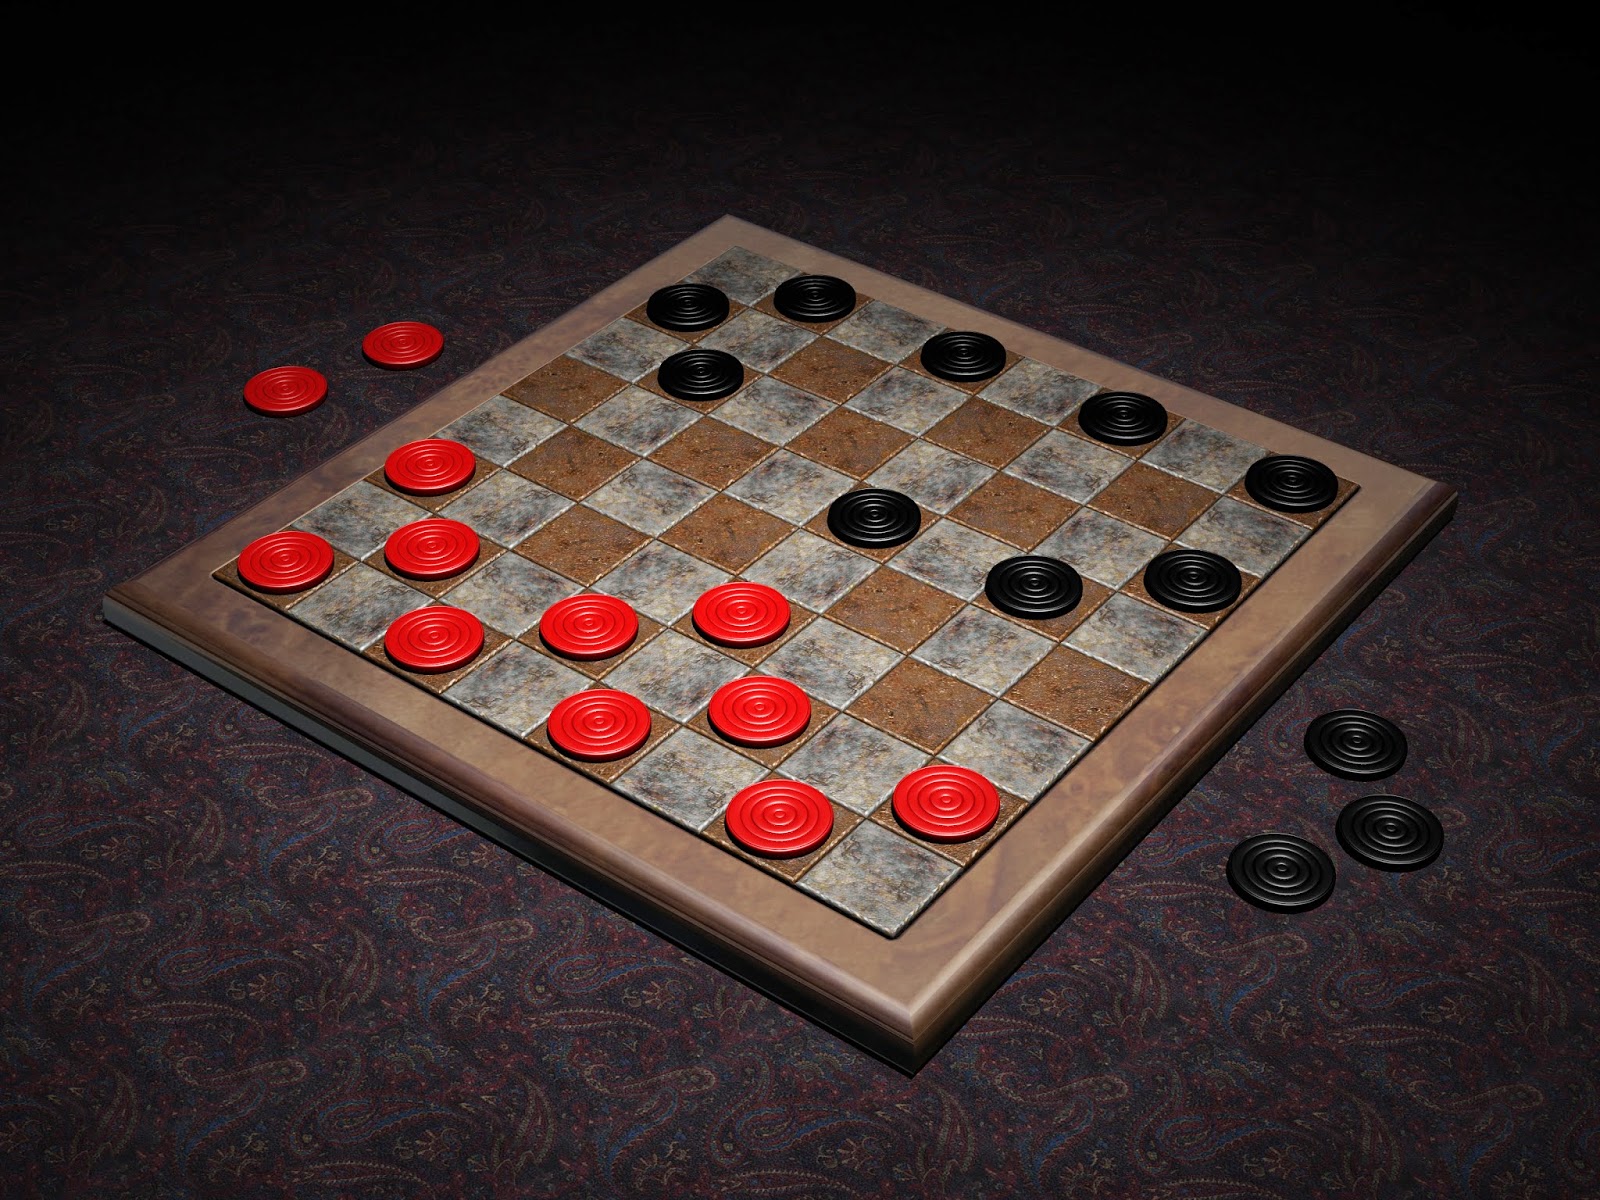
Today we will be creating a checker/chess board using a series of squares of alternating light/dark wood.  We will also be creating a border with a filleted edge.
In the first step, I turned on "snap" and created two rows of 8 blocks.  Then I changed the textures and alternated between light and dark.
In part 2, I copied the two rows and pasted them 4 times to create a basic checkerboard.
In part 3 I added a block that extended beyond the edges of the squares and lowered it just slightly so the squares stuck out of the surface.
In the final step, I filleted (rounded) the edges of the block (see above).

You can add texture, gloss, color, etc. and even lighting, background, etc.
Next I would like you to add checkers.  You can either create a checker with the Cylinder tool, or with the Revolve command (as seen in the examples below).  Notice that there are 12 of each color and that they sit on the dark squares.
Below are various styles of checkerboards including some that have been made into tables.  Note the different colors, textures, materials, etc.  Checkerboards can be made in stone, metal, wood, fabric, etc.

Tuesday, March 25, 2014

Rhino: Basic Table with Turned Legs

Today I would like you to make a table using the legs you built.
  • First, make sure the legs are long enough for a proper table.  Dining table legs are typically about 29" (inches) and coffee tables or end tables are much shorter.
  • Put a box on top of four table legs.  The box (table top) can be square or rectangular.  Make it at least a couple inches thick -- but remember that dining tables are typically 29-30" tall.
  • Try a FilletEdge command.
    • Type FilletEdge and press Enter
    • Set the fillet number to 1 at first.  
    • Select all four top edges of the table top.
    • Press Enter
    • If the table "blows up" (goes all crazy) do an Undo (CTRL+Z) and try again with a smaller number.
    • If the table isn't filleted (rounded) enough, do an Undo (CTRL+Z) and try again with a larger number.
  • Add textures, gloss, bumpmaps (if necessary)
  • Add a floor:
    • Scroll/Zoom out in your TOP viewport
    • Select the Box tool and make a box large enough to be a floor (maybe a couple inches thick)
    • Add textures, gloss, bumpmaps (if necessary)
  • Add some items (i.e. goblet, vase, plates, bowls, etc.) to the top of the table.
  • Add some spotlights at different angles to add interest to the scene