
(You can click any of the images below to enlarge)

We begin this project by placing our floor. If your room is rectangular (as the example shows) it is pretty easy to plot it out. I started my room in coordinate 0,0, entered 144" (12 ft.) for the length and 120" (10 ft.) for the width -- and then specified 3" for the floor thickness.

Next I began adding walls by specifying the length, height (I did 96" for 8 foot ceilings), and the wall thickness (I did 3" -- but remember to add to your room length when adding walls)

Next I added the remaining walls. After you get two connected walls you can simply copy and paste to make new walls.

I remove one wall so I can see into the room easier -- similar to a dollhouse view. I also add a doorway and window opening by doing a boolean difference.

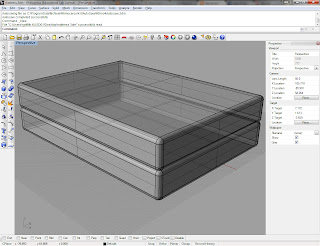
Next I began adding some details. In this case, a mattress and box springs (two boxes with filleted edges), and feet for the bed.

I continue adding details by adding "lofted" curtains (2 curves lofted together), a pillow, and a rug in front of the door. I am also in the process of adding a poster to the wall -- in this case just a box (.25 inches thick) with a texture I will apply next.

I add textures, lights, gloss, transparency, etc for my nearly finished scene.


 I am including a couple examples to get you started. Notice in the dresser design, that it consists of 10 boxes. You really just need a simple design to convey what the furniture is. Since we won't be opening the drawers of the dresser, we don't even need to hollow them out.