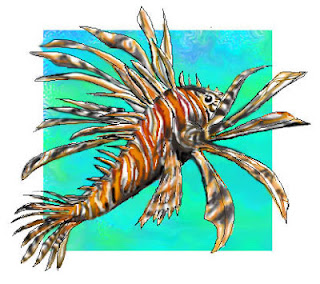
 Breakout images are used throughout advertising to demonstrate action. If you've seen pictures of a baseball player jumping out of a picture, an animal flying out of a picture, etc., you've seen a "breakout image". Sometimes the breakouts are out of all sides (see image on right) and sometimes they are just leaving one or two sides of an image (like the example below).
In this example I used a marble texture as a background and warped the corner of the picture to give it a bit of an upturned look.
Step By Step Instructions:
Step 1: Find a picture that will work well with a breakout.
Step 2: Select the area of the background you want to preserve, then SELECT > INVERSE and erase everything except the breakout subject of the picture.
Step 3: Add a background such as wood or marble or dirt.
Step 4: Add a new layer (behind your subject) and draw a rectangular marquee which you will fill with white to give the impression of a photo border. Then select the subject layer (in this case, the whale) and go to LAYER > MERGE DOWN (or CTRL+E).
Step 5: Add a Layer Style (such as drop shadow or bevel). Then do FREE TRANSFORM and PERSPECTIVE to give it a bit of perspective. You can also do a WARP (in Free Transform) if you want to adjust a corner or the whole picture.


No comments:
Post a Comment