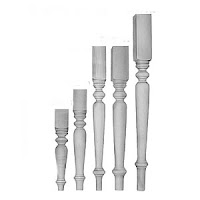
 Today we are doing a project very similar to the goblet or vase. We are going to use the "Revolve" tool to turn some table legs. Try a few different designs and some different textures. Remember to add gloss (50 is really shiny) if you want them to appear varnished.
Notice that some are shorter and some are taller, but they have very similar designs.
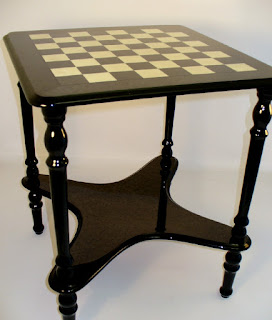
If you look at the table design below, you can see turned wooden legs and it really helps to accent the table.

Process:
- Begin with "Small Objects - Inches"
- Select the front or side viewport and expand it
- Draw a profile of a table leg. Standard table legs are approximately 29" tall
- Create your table leg using the Revolve method from the "Goblet" project.
2. Select the curve (that you just drew)
3. Type "Revolve" and press Enter
4. Set the Axis in what will be the center of your table leg.
5. Type "0" and press Enter.
6. Type "360" and press Enter.


No comments:
Post a Comment